You will need at least the following:
Install the CPU board and the hard drive or compact flash reader in the computer. Connect power, monitor, keyboard and mouse. Power up and insert the bootable install CD.
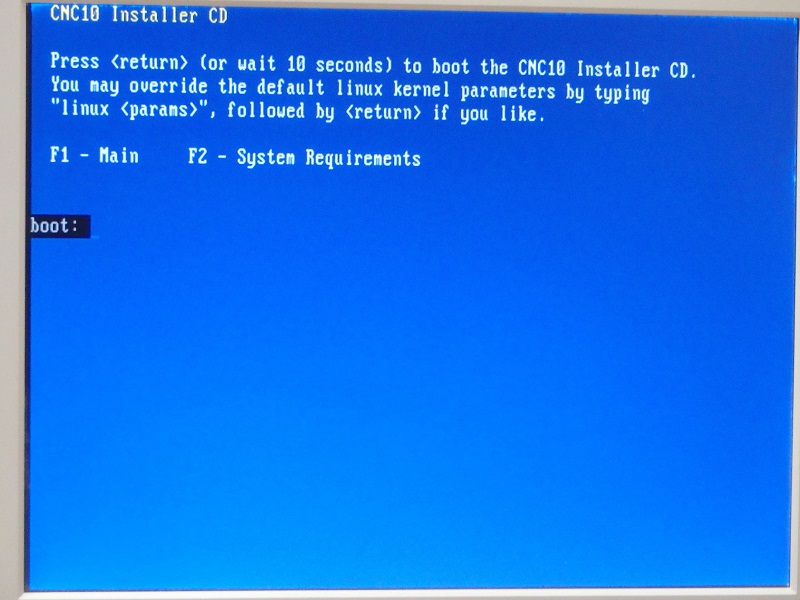
After a moment you should see a startup screen like the following:
Press Enter, or just wait a few seconds. CNC Linux will then start up from the CD. Eventually you will see the CD menu:
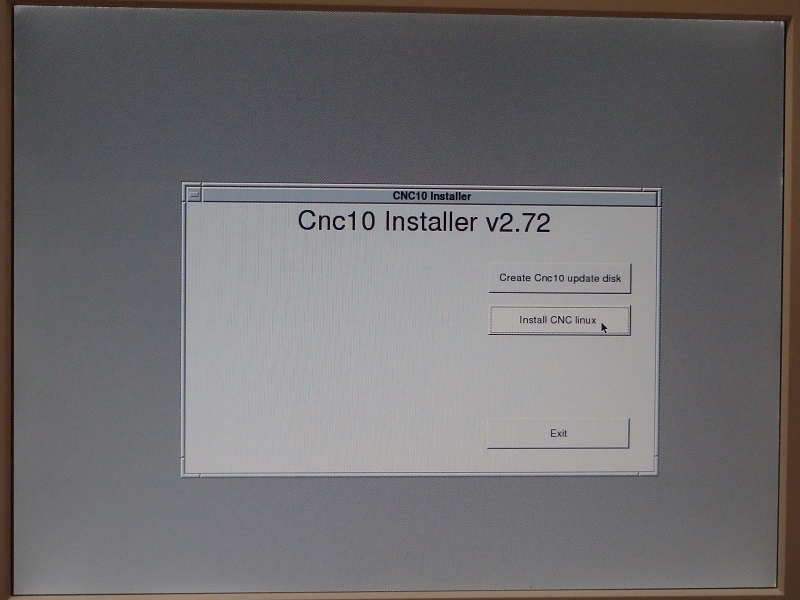
Select "Install CNC Linux"
After another pause, you will see the installation options:
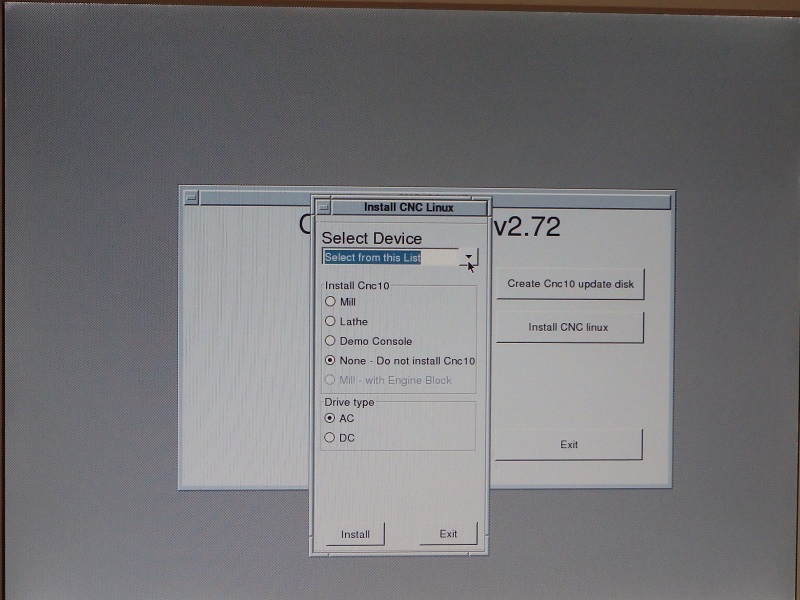
Under "Select Device", select hda. This would be the IDE primary master drive.
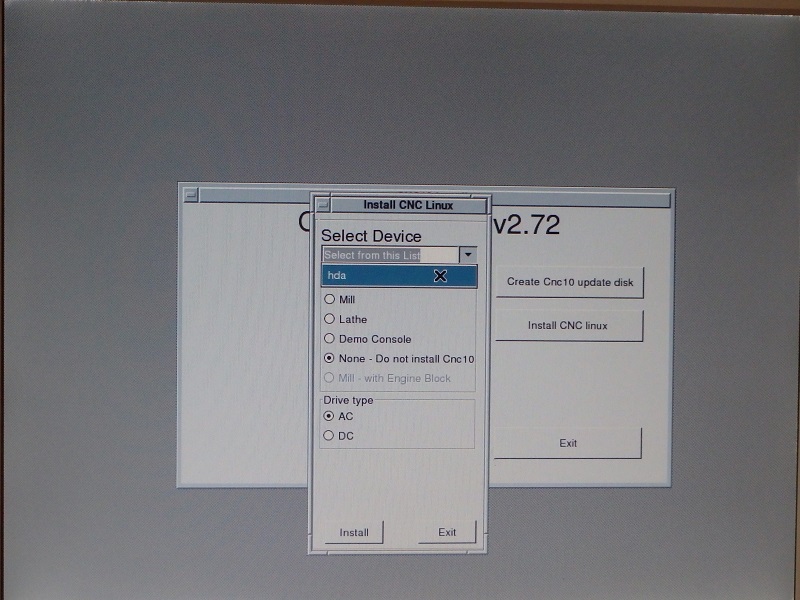
Select Mill or Lathe as appropriate.
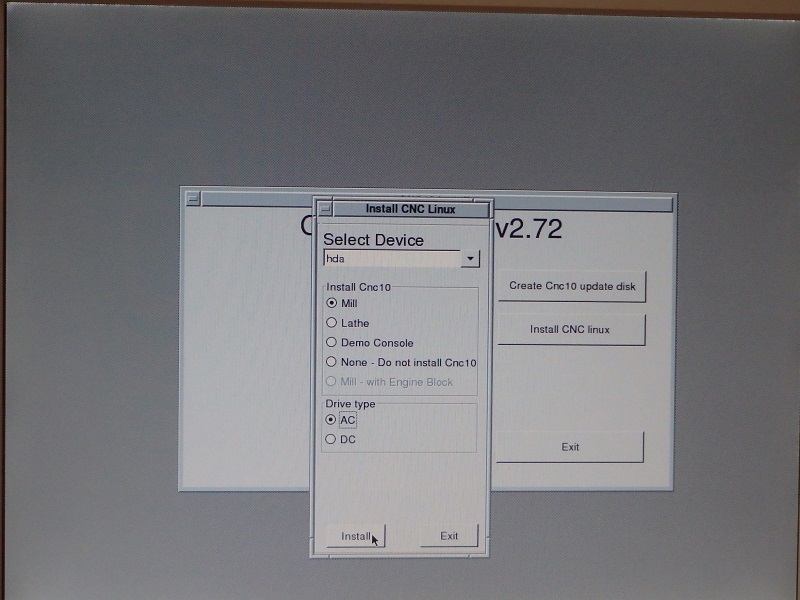
Under "Drive type", select whether the control is a DC Brushed servo system or an AC Brushless servo system. If your control uses Centroid factory drives, answer appropriately.
If your control uses third party drives (Yaskawa Servopacks, for example) through the Centroid OPTIC1 interface, then you should choose "DC" even though you really do have AC servos. The OPTIC1 looks to the controller like a Centroid DC drive.
When you have made your choices, then select "Install".
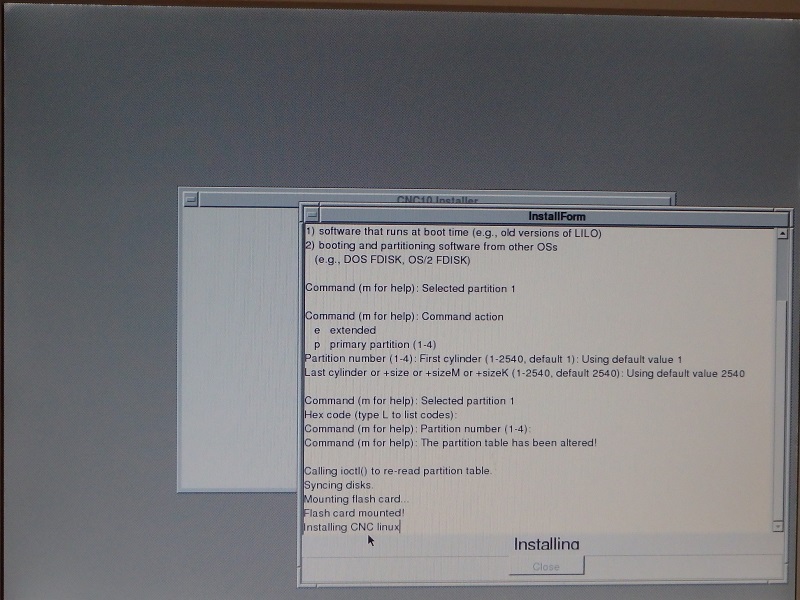
The installer formats the hard drive or flash card as needed, and installs the requested control software.
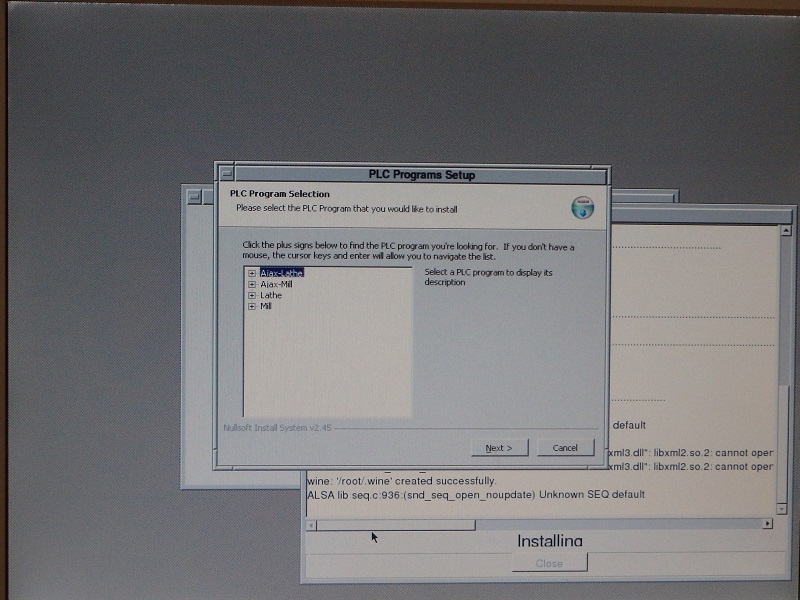
When installation is complete, you will be prompted to install a PLC program.
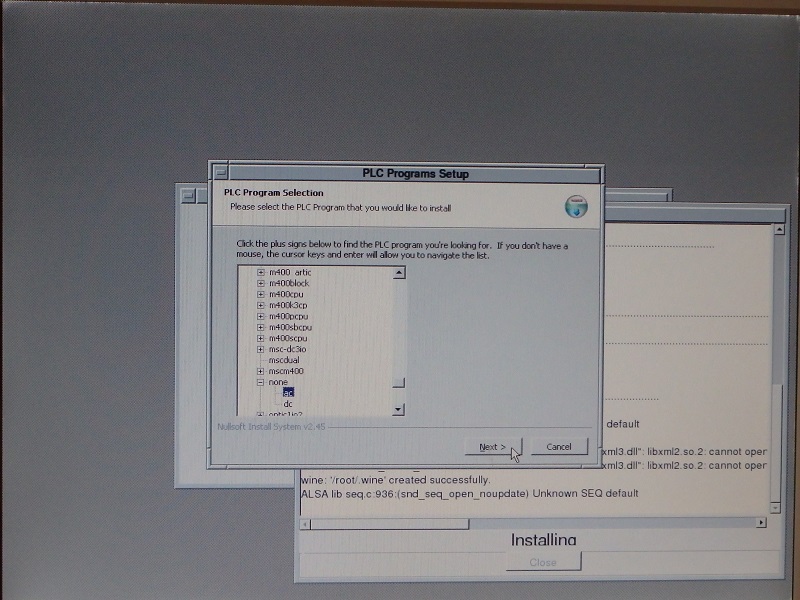
Select a PLC program from the selection tree. If you are updating an existing control and have a Configuration Backup or Report, then choose the program named "None". Otherwise choose something basic and similar (e.g. M39 or T39).
Under the PLC program you choose, you will be asked again to select whether it is for an AC servo system or a DC servo system. Answer the same as you did previously. Then click "Next".
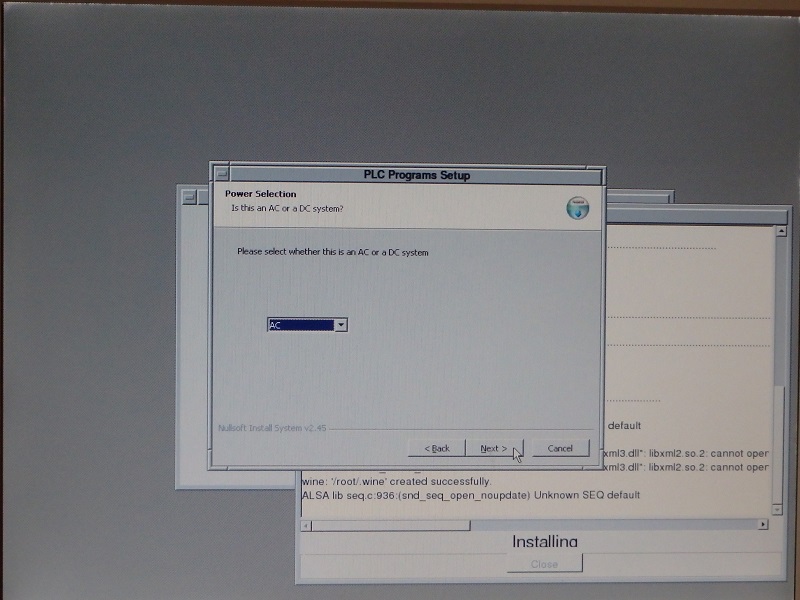
On the next page, you will yet again be prompted to select "AC" or "DC". Answer the same as you did the previous two times, then click "Next".
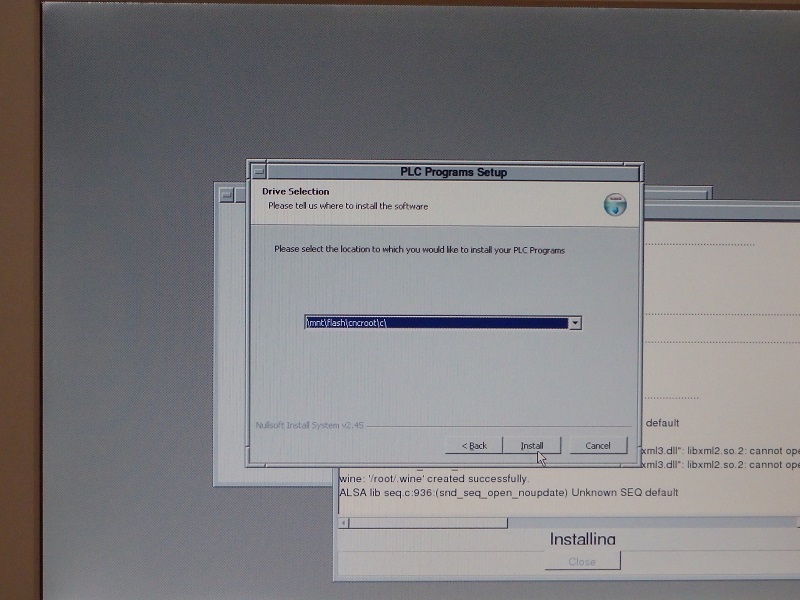
Next you will be prompted for a destination folder to install the PLC program in. Leave the default selection of "\mnt\flash\cncroot\c". Click "Install"
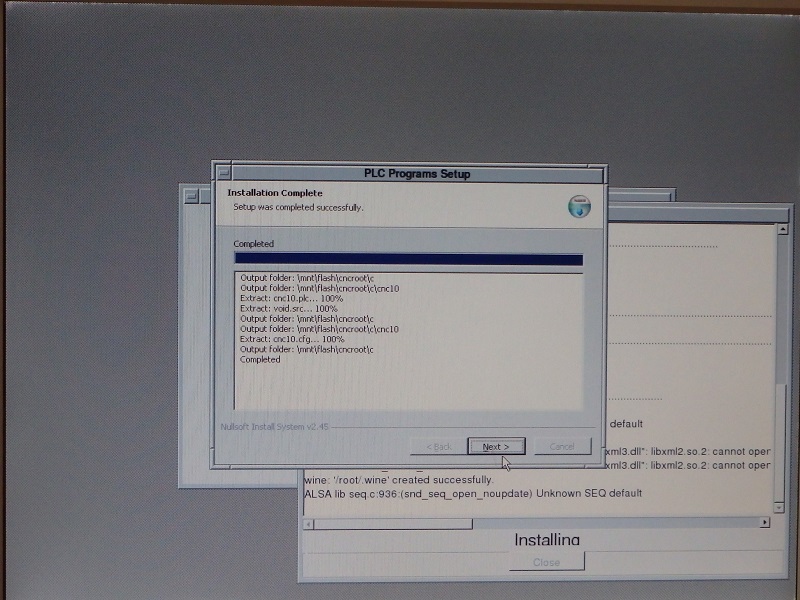
The PLC installer will copy the necessary PLC and configuration files onto the target drive. When it is done, click "Next".
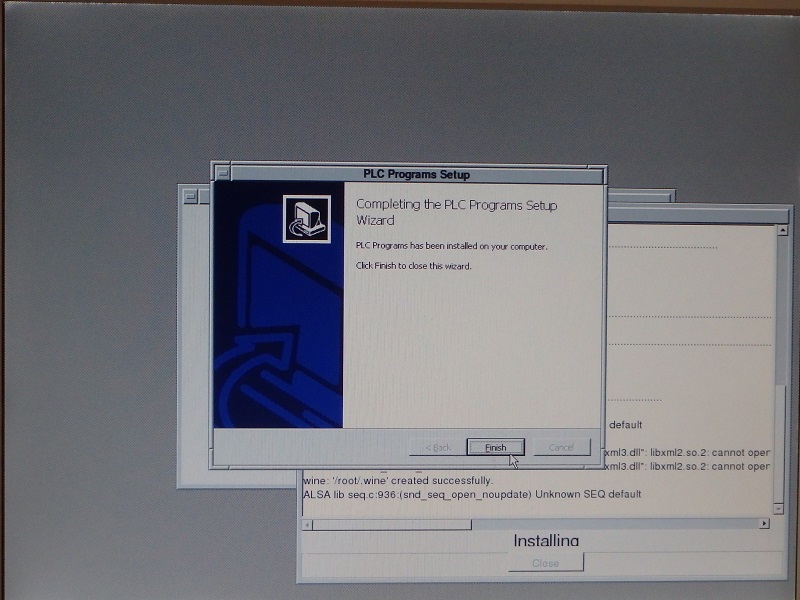
Click "Finish"
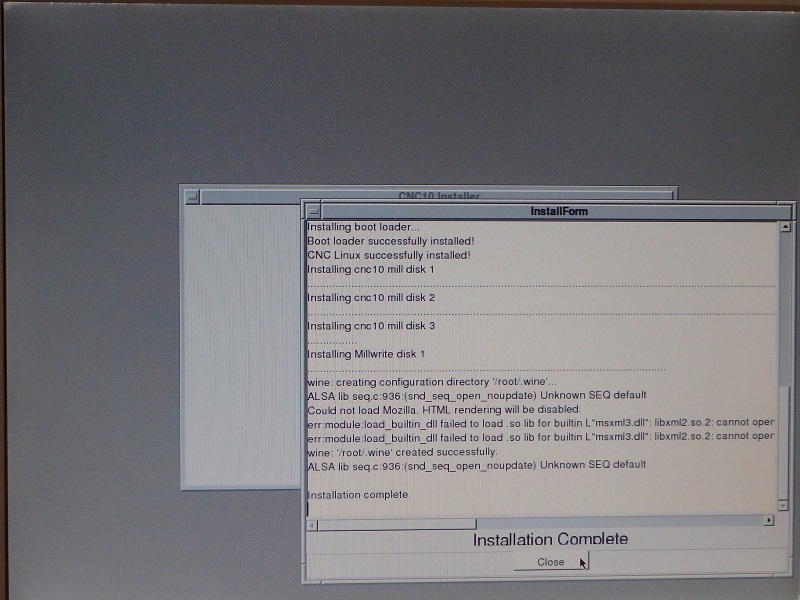
You will be returned to the installation progress screen, which should show "Installation Complete".
Click "Close".
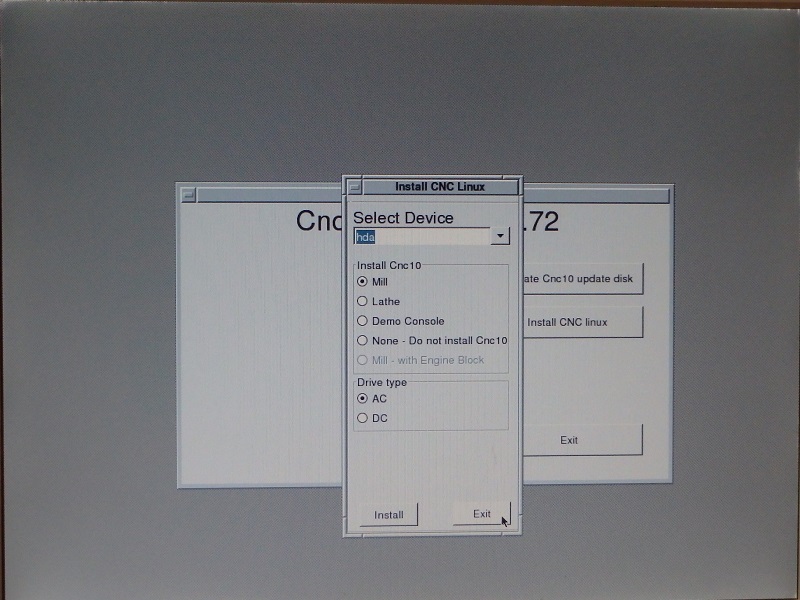
You will then be returned to the installation selections display. Click "Exit".
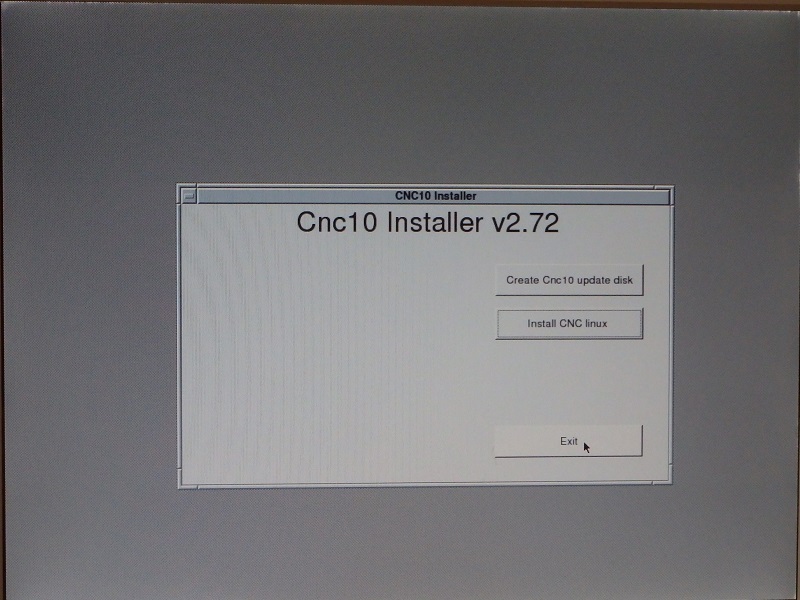
You will then be returned to the startup CD menu. Select "Exit" here too.
The screen will go to a blank gray desktop, but the PC will not automatically shut down.
Press Alt-F6 to open a command prompt window.
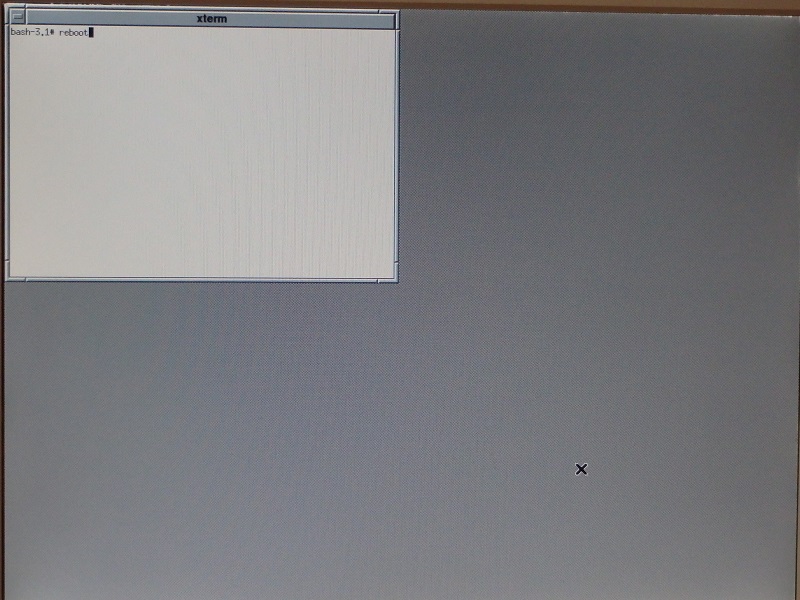
At the command prompt, type the command "reboot" and press Enter.
As the PC shuts down and reboots, remove the CD so that the PC will boot from the newly-configured compact flash card.
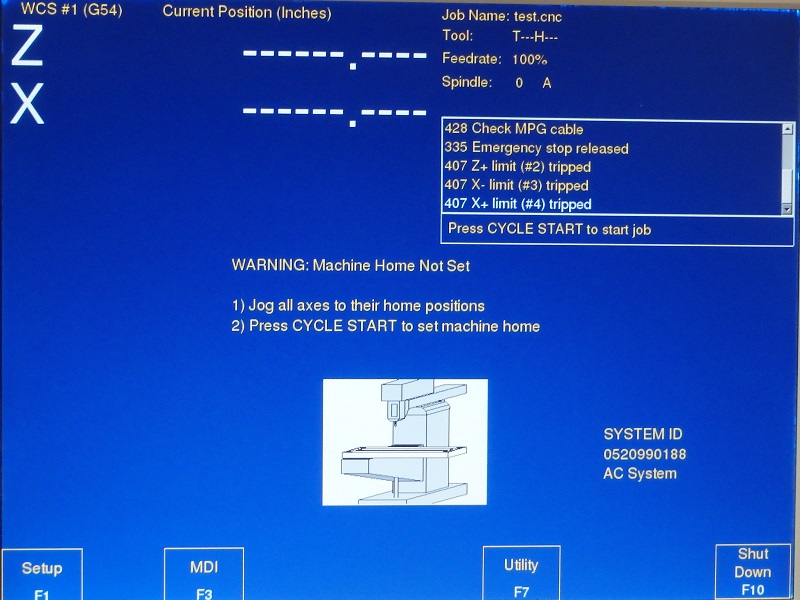
If all goes well, Linux will boot and launch CNC10, and CNC10 will initialize the CPU board and show its normal startup display.
You can now use F7/Utility → F2/Update to install a report from the target machine; or just use the CNC10 Configuration and Parameters menus to enter all the information necessary for the target machine.
The CPU board in a CNC10 DC-servo system runs firmware from either "cnc8.hex" or "cnc7.hex", depending on the DSP chip installed on the CPU board. CPU7 boards prior to ca. 1998 have an ADSP-2105 chip, and can only use cnc7.hex. Later CPU7 boards, and all CPU10 boards, have an ADSP-2101 chip, and can use the more-capable cnc8.hex.
The CPU board in a CNC10 AC-servo system runs firmware from "cnc9.hex".
The presence or absence of a file named "cnc9.hex" is all that distinguishes an AC-servo CNC10 installation from a DC-servo one. All other differences are in the configuration and parameter settings, which are included in the report files.
If you have a compact flash card that was set up as an AC-servo installation, and you need to use it on a DC-servo control, you need only rename the "cnc9.hex" file to something else. Then CNC10 will fall back on using "cnc8.hex" or "cnc7.hex" instead.
Press Alt-F6 to open a command prompt window.
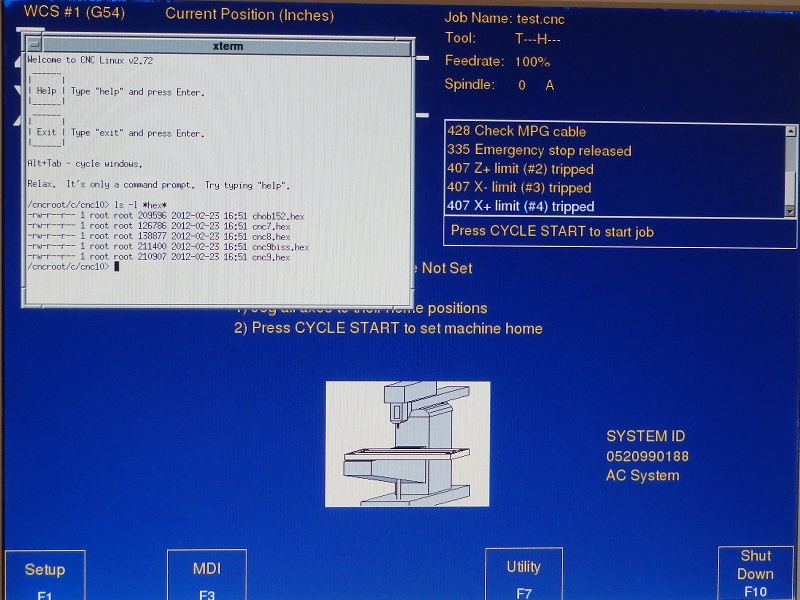
Enter the command
ls -l *hex*
to list all files with "hex" in their names.
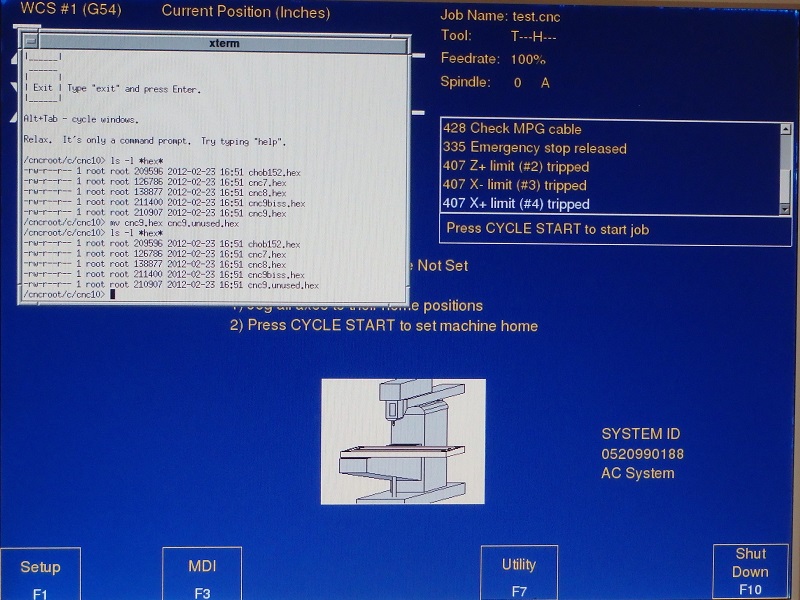
Enter the command
mv cnc9.hex cnc9.unused.hex
to rename cnc9.hex so that CNC10 will use the DC-servo hex file instead.
If the target system is a DC-servo control with an early CPU7 board that has an ADSP-2105 DSP chip, then you need to use the same method to rename the cnc8.hex file. That will force CNC10 to use cnc7.hex instead.
The change will take effect on the next shut down and cold start.
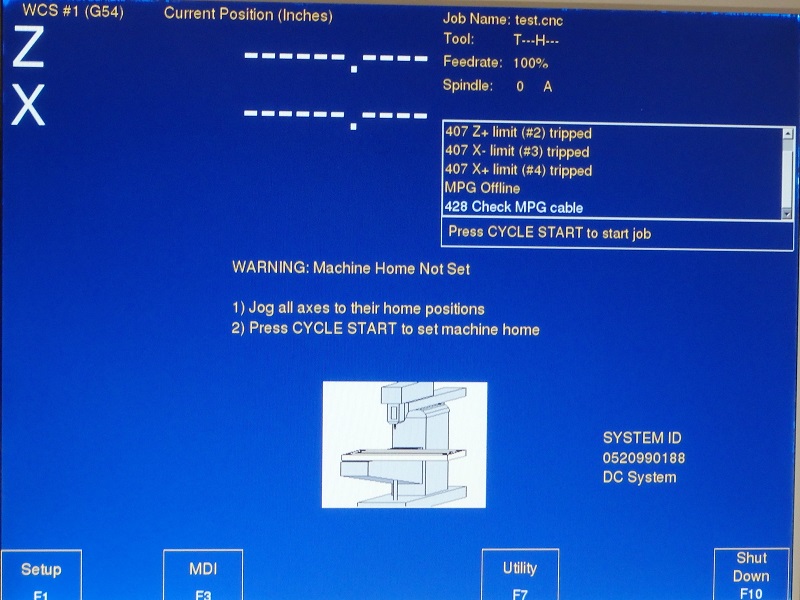
CNC10 running with cnc8.hex. Main screen shows "DC System".
Copyright © 2026 Marc Leonard
Last updated 01-Apr-2026 MBL
